
Deploying a Dedicated Project Zomboid Multiplayer Server on Windows RDP in Pakistan
Project Zomboid (PZ) has evolved into one of the most mechanically deep and unforgiving zombie survival games on the market. While surviving alone in Knox Country is an intense experience, the game truly shines in multiplayer. However, hosting a persistent, modded multiplayer server from a local home connection in Pakistan often results in high latency, frequent disconnections, and poor performance—especially when dealing with large hordes and intricate mods.
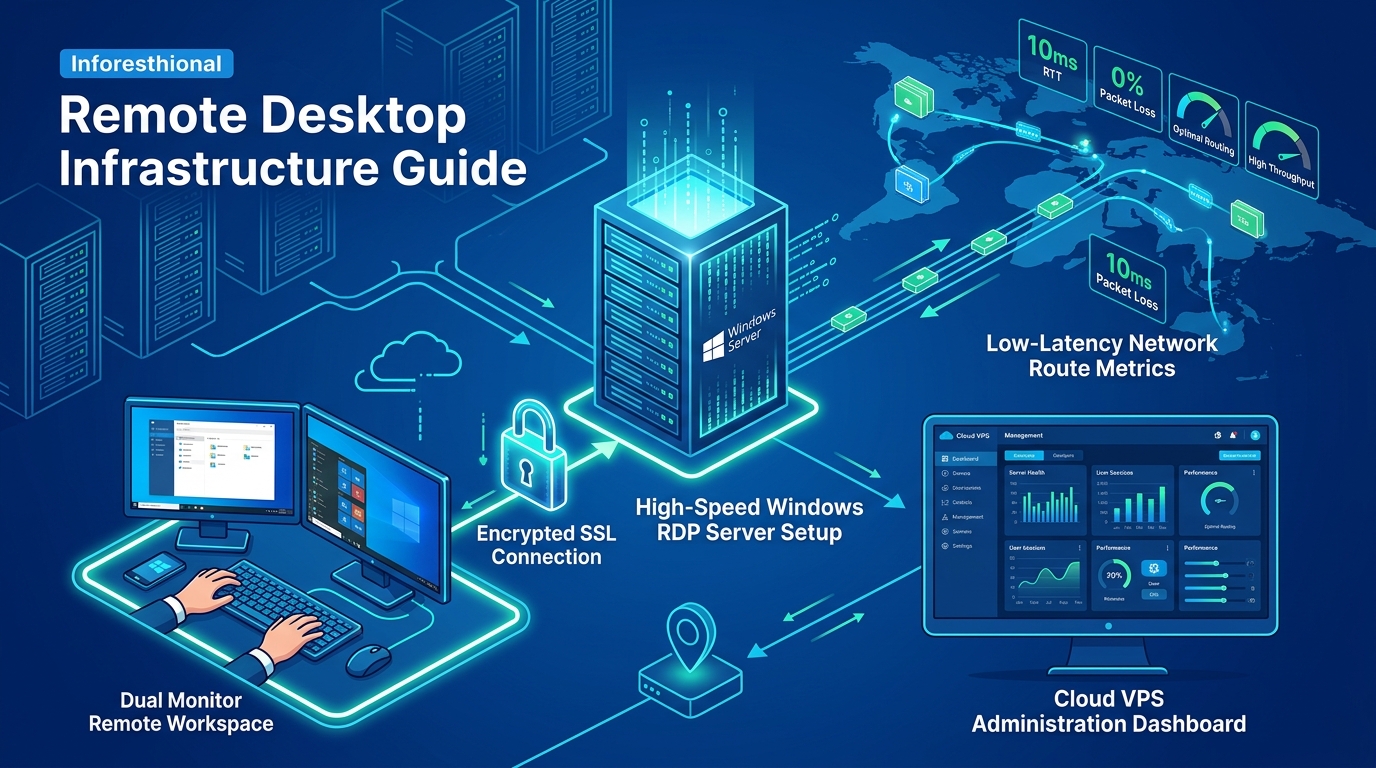
The ultimate solution for Pakistani gamers and community builders is to deploy the server on a reliable Windows RDP (Remote Desktop Protocol) environment. In this expert-level guide, we will walk you through setting up, configuring, and optimizing a dedicated Project Zomboid server on a Windows RDP, ensuring a lag-free survival experience for you and your friends.
Why Choose Windows RDP for Project Zomboid?
While Linux VPS hosting is popular for many game servers, a Windows RDP offers several distinct advantages for Project Zomboid:
- Ease of Use: The familiar Windows graphical interface simplifies server management, especially when editing configuration files or using graphical mod managers.
- SteamCMD Compatibility: Windows fully supports SteamCMD, the official command-line version of the Steam client, which is essential for downloading and updating the PZ server files.
- Dedicated Resources: Project Zomboid is famously RAM-hungry, particularly when exploring new map chunks or handling thousands of zombies. A robust RDP provides the guaranteed CPU and memory needed to keep the tick rate stable.
For heavily modded servers supporting large player bases, a standard VPS might not cut it. In these scenarios, upgrading to bare-metal Dedicated Servers is highly recommended. The unmetered bandwidth and multi-core power of Dedicated Servers in Pakistan ensure that even the most chaotic horde nights run smoothly without rubber-banding.
Prerequisites
Before diving into the installation, ensure your Windows RDP meets the following minimum requirements for a smooth PZ server experience (for 4-8 players):
- OS: Windows Server 2019 or 2022 (64-bit)
- CPU: 4+ Cores (High single-thread performance is crucial for PZ)
- RAM: Minimum 8GB (16GB+ highly recommended for modded servers)
- Storage: 50GB SSD (NVMe preferred for fast world-saving and loading)
- Network: Static IP and access to configure Windows Firewall
Step 1: Installing SteamCMD
SteamCMD is the tool we will use to fetch the dedicated server files directly from Steam’s servers.
- Connect to your Windows RDP.
- Create a new folder on your primary drive (e.g.,
C:\SteamCMD). - Download SteamCMD from the official Valve developer wiki.
- Extract
steamcmd.exeinto yourC:\SteamCMDfolder. - Double-click
steamcmd.exe. It will launch a command prompt window, download necessary updates, and eventually drop you into theSteam>prompt.
Step 2: Downloading the Project Zomboid Server Files
With SteamCMD running, follow these steps to download the server:
- Set the installation directory. In the
Steam>prompt, type:force_install_dir C:\PZServer - Log in anonymously (Project Zomboid’s dedicated server does not require owning the game on the account downloading it):
login anonymous - Download the server using the PZ App ID (
380870):app_update 380870 validate - Wait for the download to complete. Depending on your RDP’s network speed, this should take only a few minutes.
- Type
quitto exit SteamCMD.
Step 3: Configuring the Server Ports and Firewall
Project Zomboid requires specific ports to be open for players to connect and for the server to communicate with Steam.
Default Ports:
- 16261 (UDP): The primary server port.
- 16262 (UDP): Steam port (optional, but highly recommended for Steam integration).
Configuring Windows Firewall:
- Open the Start Menu and search for Windows Defender Firewall with Advanced Security.
- Click on Inbound Rules in the left pane, then click New Rule… in the right pane.
- Select Port and click Next.
- Select UDP and specify the ports:
16261, 16262. Click Next. - Select Allow the connection. Click Next.
- Check Domain, Private, and Public. Click Next.
- Name the rule “Project Zomboid Server UDP” and click Finish.
(Note: If your RDP provider has an external firewall or security group configuration panel, ensure you open these UDP ports there as well.)
Step 4: Initial Server Launch and Configuration
Before we tweak the settings, we need to run the server once to generate the configuration files.
- Navigate to
C:\PZServer. - Locate and run
StartServer64.bat. - The console will appear. Because this is the first run, it will prompt you to enter an admin password. Type a secure password and press Enter. Confirm it when prompted.
- Wait for the server to fully initialize (you will see a message like
*** SERVER STARTED ***). - Type
quitin the console to safely shut down the server.
Editing the Server Settings
The configuration files are not stored in the installation folder. Instead, they are generated in the current user’s Zomboid directory: C:\Users\Administrator\Zomboid\Server.
Here, you will find three key files (assuming the default server name servertest):
servertest.ini: The main configuration file (ports, player limits, public/private status, mod loading).servertest_SandboxVars.lua: The sandbox settings (zombie lore, loot rarity, day length, weather).servertest_spawnregions.lua: Defines where players can spawn.
Key settings to optimize in servertest.ini:
PublicName: The name of your server as it appears in the server browser.MaxPlayers: Set this according to your RAM. (Rule of thumb: 2GB base + 500MB per player).PingLimit: Crucial for Pakistani servers. To prevent auto-kicking local players during minor lag spikes, increase this from the default400to800or disable it by setting it to0.
Step 5: Allocating More RAM to the Server
By default, the server might not utilize all the RAM available on your RDP, leading to “Out of Memory” errors as the map expands.
- Open
C:\PZServer\StartServer64.json(orStartServer64.batif you launch directly via the batch file) in a text editor like Notepad. - Locate the memory allocation arguments:
-Xms(initial memory) and-Xmx(maximum memory). - If your RDP has 16GB of RAM, you might want to allocate 8GB to the server. Change the values to:
-Xms8g -Xmx8g - Save the file.
Step 6: Installing Mods (The Right Way)
Mods are what make PZ truly replayable. However, adding mods manually can be tedious. The best method is to use Steam Workshop integration.
- Find the mods you want on the Steam Workshop and note their Mod ID and Workshop ID.
- Open
C:\Users\Administrator\Zomboid\Server\servertest.ini. - Locate the
Mods=line. Add the Mod IDs separated by semicolons. (Example:Mods=tsarslib;TrueActions;) - Locate the
WorkshopItems=line. Add the Workshop IDs separated by semicolons in the exact same order. (Example:WorkshopItems=2392709985;2487022075;) - Save the file.
When you start the server, it will automatically download the specified mods from the Steam Workshop before launching the game world.
Step 7: Launching and Managing Your Server
To keep your server running 24/7 without needing to keep the RDP window open on your local machine:
- Double-click
StartServer64.batto launch the server. - Once it says
*** SERVER STARTED ***, you can simply close your RDP connection. The server process will continue running in the background on the Windows environment.
Regular Maintenance Tips:
- Automated Backups: Use Windows Task Scheduler to copy the
C:\Users\Administrator\Zomboidfolder daily. A corrupted save file in PZ means total loss. - Wiping the Server: If things get too chaotic or you want a fresh start, delete the contents of
C:\Users\Administrator\Zomboid\Saves\Multiplayer\servertest. - Monitor Resource Usage: Periodically check Windows Task Manager on your RDP to ensure the server isn’t leaking memory over time.
Conclusion
Hosting a dedicated Project Zomboid server on a Windows RDP in Pakistan is the definitive way to experience the apocalypse with friends. By following this guide, you have bypassed the limitations of local hosting, ensuring a stable, high-performance environment capable of handling expansive mods and relentless zombie hordes. Equip your spiked baseball bats, barricade your safehouse, and survive the Knox Event on your own terms.