
Pakistan is currently home to one of the most vibrant and rapidly growing freelance markets in the world. Full-stack developers, software engineers, and DevOps specialists in Pakistan face unique challenges, including unpredictable power outages, hardware upgrade costs, and the need to seamlessly collaborate with international clients.
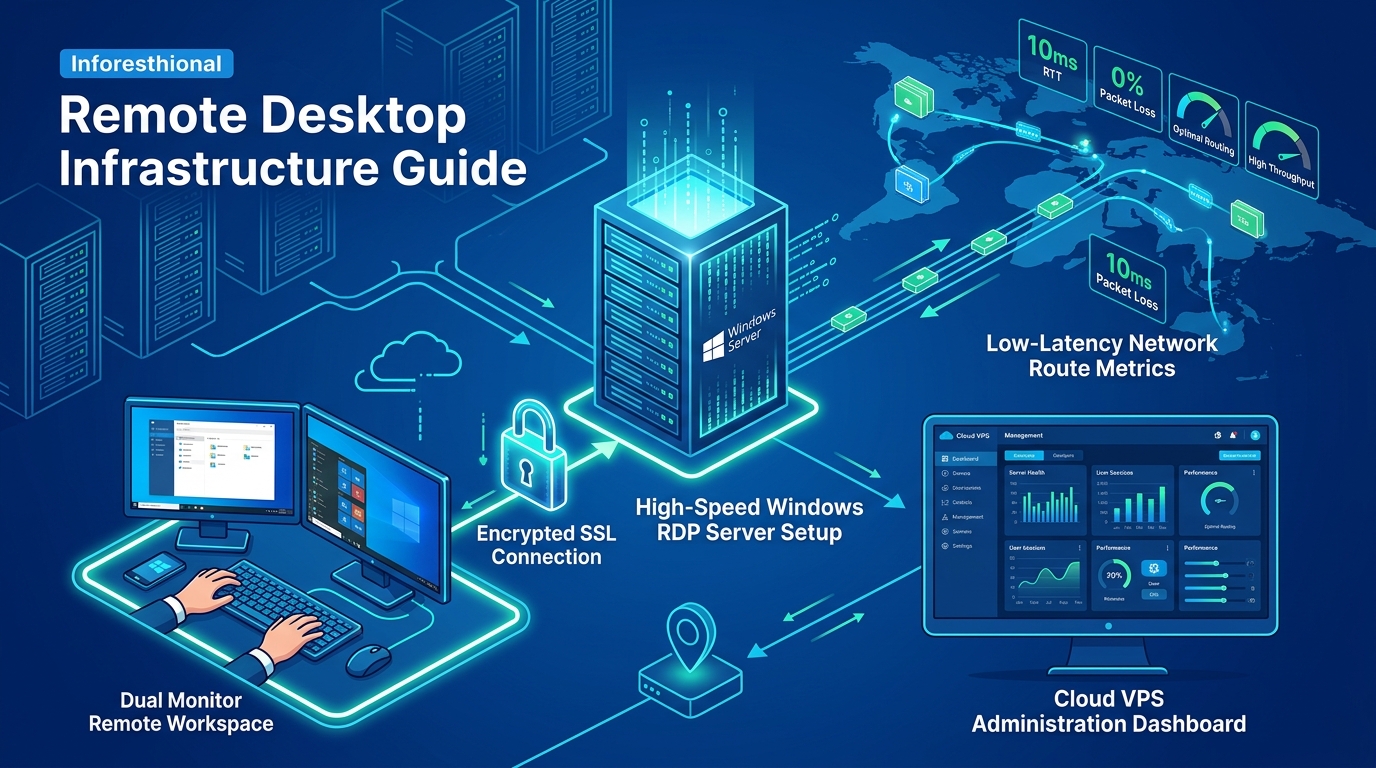
The ultimate solution? Moving your development environment to the cloud. By setting up a Remote Desktop Development Environment via VS Code Server, you can access a full-featured integrated development environment (IDE) directly from your web browser—on any device, anywhere in the world.
In this comprehensive guide, we will walk you through the process of deploying code-server (the open-source VS Code Server) on a Linux VPS, securing it with an Nginx reverse proxy, and optimizing it for heavy full-stack workloads.
Why Pakistani Freelancers Need a Cloud IDE
Working as a full-stack developer often requires running heavy local environments: Docker containers, multiple database instances (PostgreSQL, Redis, MongoDB), and memory-hungry language servers. Doing this on an aging laptop can be incredibly slow and battery-intensive.
By offloading this “heavy lifting” to a remote server, you gain several massive advantages:
- Device Independence: Code from an iPad, a low-spec Chromebook, or your primary desktop. The experience remains identically powerful.
- Always-On Persistence: If your local power goes out or your internet connection drops, your server keeps running. Long-running compilation tasks or web scrapers won’t be interrupted.
- Gigabit Speeds: Downloading massive Docker images or NPM packages takes seconds on a data center connection, drastically reducing waiting time.
Resource Requirements: VPS vs. Bare Metal
For a basic MERN stack (MongoDB, Express, React, Node.js) or Python/Django project, a standard Linux VPS with 2GB to 4GB of RAM is perfectly adequate.
However, if your freelance agency is scaling up to run massive Kubernetes clusters, complex CI/CD pipelines, or heavily containerized enterprise applications, a simple VPS might struggle. In these scenarios, the unmetered bandwidth and multi-core power of Dedicated Servers become necessary. For latency-sensitive terminal workflows and instant code synchronization across the region, leveraging Dedicated Servers in Pakistan ensures ultra-low ping and absolute data sovereignty for your clients’ proprietary codebases.
Step-by-Step Guide: Deploying code-server on Ubuntu 24.04
For this guide, we assume you have root or sudo access to a fresh Ubuntu 24.04 LTS server.
Step 1: System Update and Preparation
First, SSH into your server and ensure all system packages are up to date:
sudo apt update && sudo apt upgrade -yInstall essential build tools and dependencies that you will likely need for full-stack development:
sudo apt install -y curl wget git build-essential nginx ufwStep 2: Installing code-server
The easiest and most reliable way to install the open-source VS Code Server is via the official installation script provided by the Coder team.
curl -fsSL https://code-server.dev/install.sh | shThis script will automatically detect your OS architecture, download the correct binary, and set up a systemd service.
Step 3: Configuring the Service
By default, code-server binds to 127.0.0.1:8080, meaning it’s only accessible from the server itself. We will leave it this way for security and use Nginx to expose it to the web securely.
Enable and start the code-server service for your current user:
sudo systemctl enable --now code-server@$USERNext, open the configuration file to check your generated password:
nano ~/.config/code-server/config.yamlIt should look something like this:
bind-addr: 127.0.0.1:8080
auth: password
password: YOUR_SECURE_PASSWORD
cert: false
Change YOUR_SECURE_PASSWORD to a strong, alphanumeric passphrase. Save and exit (CTRL+X, Y, Enter).
Restart the service to apply the new password:
sudo systemctl restart code-server@$USERSecuring Your IDE with Nginx and Let’s Encrypt (SSL)
Never expose your VS Code server directly to the internet without HTTPS encryption. We will use Nginx as a reverse proxy and Let’s Encrypt for a free SSL certificate.
Step 1: Configure Nginx
Create a new Nginx configuration file for your code-server domain (e.g., code.yourdomain.com). Make sure you have pointed an A record from your domain registrar to your server’s IP.
sudo nano /etc/nginx/sites-available/code-serverPaste the following configuration, replacing code.yourdomain.com with your actual domain:
server {
    listen 80;
    server_name code.yourdomain.com;

    location / {
      proxy_pass http://127.0.0.1:8080;
      proxy_set_header Host $host;
      proxy_set_header Upgrade $http_upgrade;
      proxy_set_header Connection upgrade;
      proxy_set_header Accept-Encoding gzip;
    }
}
Enable the site and restart Nginx:
sudo ln -s /etc/nginx/sites-available/code-server /etc/nginx/sites-enabled/
sudo nginx -t
sudo systemctl restart nginx
Step 2: Install SSL with Certbot
Install Certbot and request an SSL certificate:
sudo apt install -y certbot python3-certbot-nginx
sudo certbot --nginx -d code.yourdomain.com
Follow the prompts. Certbot will automatically configure Nginx to force HTTPS.
Step 3: Configure UFW Firewall
Lock down your server by allowing only SSH, HTTP, and HTTPS traffic.
sudo ufw allow OpenSSH
sudo ufw allow 'Nginx Full'
sudo ufw enable
Accessing Your Cloud IDE
Open your web browser and navigate to https://code.yourdomain.com. You will be greeted by a secure login screen. Enter the password you configured in config.yaml.
Once logged in, you will have the familiar, fully functional VS Code interface. You can open terminals, install extensions (via the Open VSX Registry), use Git, and write code just as you would locally.
Optimization Tips for Full-Stack Developers
- Docker Setup: Install Docker on your server. Because you are running a Linux kernel directly, Docker runs natively without the overhead of Docker Desktop for Windows or Mac.
- Node.js and NVM: Use Node Version Manager (NVM) to seamlessly switch between different Node environments for different freelance clients.
- Alternative - VS Code Remote SSH: If you prefer using your local VS Code desktop app rather than a browser window, you can use Microsoft’s official Remote - SSH extension. It connects via SSH to your VPS, installs the server components automatically, and allows your local VS Code UI to edit remote files with zero latency.
By migrating to a cloud-based development setup, Pakistani freelancers can bypass local hardware limitations and provide enterprise-grade reliability to international clients. Start building your ultimate cloud workspace today!