
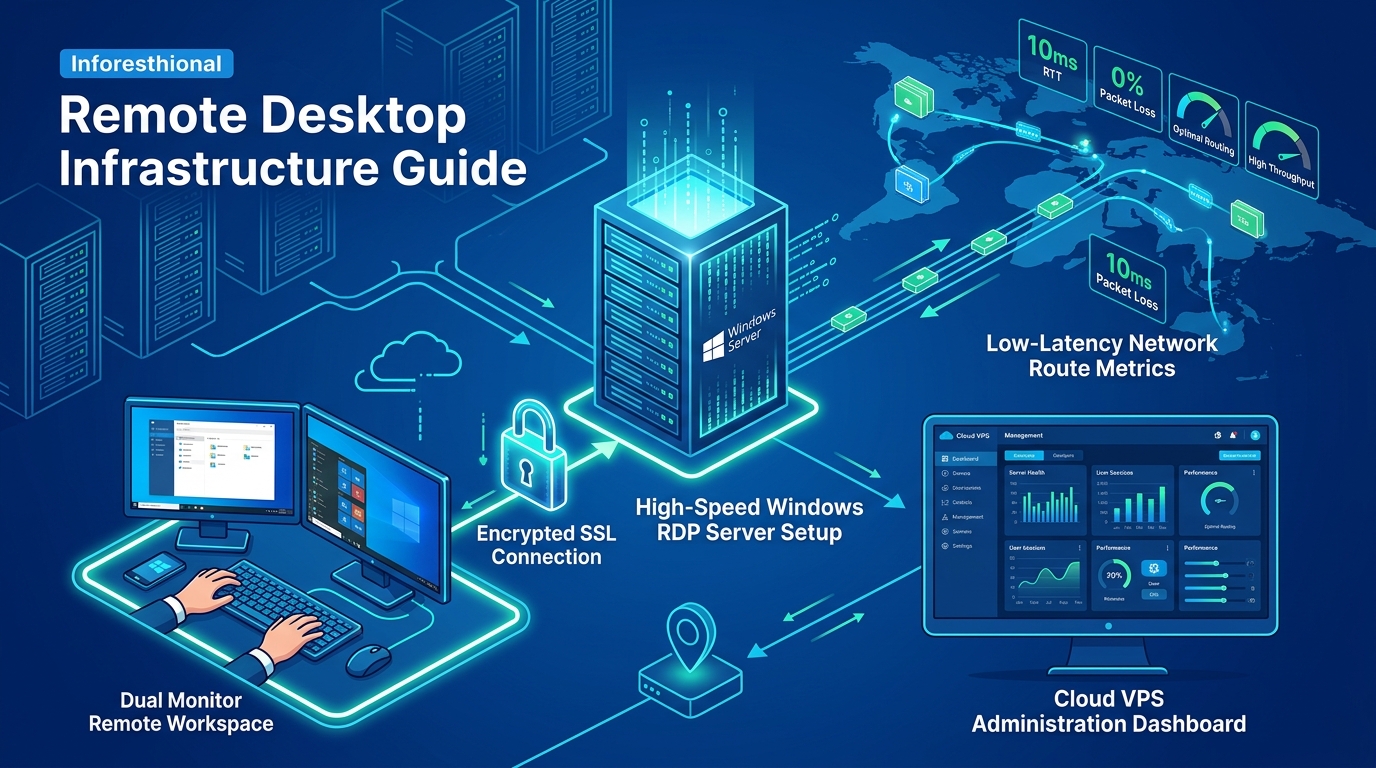
If you have tried using Cloudflare Tunnel from Pakistan recently, you have likely experienced intermittent disconnections, slow establishment, or outright blocking. Pakistani ISPs—PTCL, Zong Fiber, StormFiber, Nayatel—employ deep packet inspection (DPI) that fingerprints Cloudflare’s QUIC/HTTP2 overlay protocol and rate-limits or resets those flows. The result: your local dev server, home lab, or internal dashboard becomes inaccessible from the internet, despite having a Cloudflare account.
The solution is owning your own tunnel stack. By combining FRP (Fast Reverse Proxy) and WireGuard, you get:
- Full control over protocol, ports, and obfuscation
- Zero vendor lock-in — no Cloudflare account, no free-tier bandwidth limits
- Resilience against ISP DPI because you choose the port, protocol, and can wrap traffic in TLS or obfuscate with
kcptun - Dual-mode: WireGuard for secure mesh networking between servers + FRP for exposing specific TCP/UDP/HTTP services on demand
This guide walks you through a production-grade deployment — frpc (client) on your local machine or home server in Pakistan, frps (server) on a VPS with a public IP, secured end-to-end over a WireGuard VPN fabric.
Architecture Overview
[ Local Machine / Home Lab (Pakistan) ]
         |
    [ WireGuard wg0 ]  <- encrypted mesh, survives NAT
         |
[ VPS Public IP - frps server ]
         |
    [ Caddy Reverse Proxy ]  <- automatic HTTPS, TLS termination
         |
   [ Public Internet ]
         |
[ Your domain: app.yourdomain.com ]
The WireGuard layer creates a private /24 subnet between your VPS and every local machine. FRP then tunnels your service through this encrypted mesh rather than raw internet. This means:
- FRP traffic never crosses unencrypted over a Pakistani ISP link
- WireGuard UDP can be changed to port 443 or wrapped to look like TLS if needed
- You can add multiple clients (home lab, office PC, RDP workstation) into the same mesh
Part 1: VPS Setup — Installing WireGuard
You need a Linux VPS with a public IP. A NVMe KVM VPS in any datacenter works well for this. First, harden the kernel networking stack:
# On VPS (Ubuntu 22.04 / Debian 12)
sudo apt update && sudo apt install -y wireguard wireguard-tools qrencode

# Enable IP forwarding — critical for routing between peers
echo "net.ipv4.ip_forward = 1" | sudo tee -a /etc/sysctl.conf
echo "net.ipv6.conf.all.forwarding = 1" | sudo tee -a /etc/sysctl.conf
sudo sysctl -p
Generate Server Keys
cd /etc/wireguard
umask 077
wg genkey | tee server_private.key | wg pubkey > server_public.key
cat server_private.key   # note this
cat server_public.key    # note this
Server WireGuard Config (/etc/wireguard/wg0.conf)
[Interface]
Address = 10.8.0.1/24
ListenPort = 51820
PrivateKey = <SERVER_PRIVATE_KEY>

# Masquerade VPN traffic to the internet (replace eth0 with your NIC)
PostUp   = iptables -t nat -A POSTROUTING -s 10.8.0.0/24 -o eth0 -j MASQUERADE
PostDown = iptables -t nat -D POSTROUTING -s 10.8.0.0/24 -o eth0 -j MASQUERADE

# --- Client: Home Lab Pakistan ---
[Peer]
PublicKey  = <CLIENT_PUBLIC_KEY>
AllowedIPs = 10.8.0.2/32

# --- Client: Windows RDP Workstation ---
[Peer]
PublicKey  = <RDP_CLIENT_PUBLIC_KEY>
AllowedIPs = 10.8.0.3/32
Enable and start:
sudo systemctl enable --now wg-quick@wg0
sudo wg show   # verify interface is up
Part 2: Client Setup — WireGuard on Linux / Windows
Linux Client (home server or dev machine)
sudo apt install -y wireguard
cd /etc/wireguard
umask 077
wg genkey | tee client_private.key | wg pubkey > client_public.key
/etc/wireguard/wg0.conf on the client:
[Interface]
Address    = 10.8.0.2/24
PrivateKey = <CLIENT_PRIVATE_KEY>
DNS        = 1.1.1.1
MTU        = 1380

[Peer]
PublicKey           = <SERVER_PUBLIC_KEY>
Endpoint            = YOUR_VPS_IP:51820
AllowedIPs          = 10.8.0.0/24
PersistentKeepalive = 25
Tip for DPI evasion: If your ISP is blocking WireGuard UDP (common on Zong mobile internet), change
ListenPortto443on the server andEndpointport to443on the client. Port 443 UDP is almost never blocked. Alternatively wrap WireGuard inudp2rawto make it look like TCP.
sudo systemctl enable --now wg-quick@wg0
ping 10.8.0.1   # ping VPS — should respond
Windows Client (WireGuard GUI)
Download the official WireGuard installer from wireguard.com. Create a new tunnel with:
[Interface]
PrivateKey = <RDP_CLIENT_PRIVATE_KEY>
Address    = 10.8.0.3/24
DNS        = 1.1.1.1
MTU        = 1380

[Peer]
PublicKey           = <SERVER_PUBLIC_KEY>
Endpoint            = YOUR_VPS_IP:51820
AllowedIPs          = 10.8.0.0/24
PersistentKeepalive = 25
Activate the tunnel. Your Windows machine is now reachable at 10.8.0.3 from anywhere in the WireGuard mesh.
Part 3: Installing FRP (Fast Reverse Proxy)
FRP is a Go binary with no dependencies and a small footprint. Download the latest release:
# On VPS
FRP_VER="0.61.1"
wget https://github.com/fatedier/frp/releases/download/v${FRP_VER}/frp_${FRP_VER}_linux_amd64.tar.gz
tar -xzf frp_${FRP_VER}_linux_amd64.tar.gz
sudo mv frp_${FRP_VER}_linux_amd64/frps /usr/local/bin/
sudo mkdir -p /etc/frp
FRP Server Config (/etc/frp/frps.toml)
bindAddr     = "10.8.0.1"
bindPort     = 7000
auth.method  = "token"
auth.token   = "CHANGE_THIS_STRONG_SECRET_TOKEN_HERE"

[webServer]
addr     = "10.8.0.1"
port     = 7500
user     = "admin"
password = "DASHBOARD_PASSWORD"

vhostHTTPPort  = 8080
vhostHTTPSPort = 8443

log.to    = "/var/log/frps.log"
log.level = "info"
Critical design decision: bindAddr = "10.8.0.1" means frps only accepts FRP client connections from within the WireGuard tunnel. An attacker on the public internet cannot directly reach the FRP control port even if they know it exists. This is security-in-depth that Cloudflare Tunnel cannot easily replicate.
Create the systemd service:
sudo tee /etc/systemd/system/frps.service > /dev/null <<'SVCEOF'
[Unit]
Description=FRP Server
After=network.target [email protected]
[email protected]

[Service]
Type=simple
ExecStart=/usr/local/bin/frps -c /etc/frp/frps.toml
Restart=always
RestartSec=5s
User=nobody

[Install]
WantedBy=multi-user.target
SVCEOF

sudo systemctl daemon-reload
sudo systemctl enable --now frps
sudo journalctl -u frps -f
Part 4: FRP Client — Exposing Local Services
Install frpc on the local Linux machine
sudo mv frp_${FRP_VER}_linux_amd64/frpc /usr/local/bin/
sudo mkdir -p /etc/frp
Client Config (/etc/frp/frpc.toml)
serverAddr = "10.8.0.1"
serverPort = 7000
auth.method = "token"
auth.token  = "CHANGE_THIS_STRONG_SECRET_TOKEN_HERE"

log.to    = "/var/log/frpc.log"
log.level = "info"

# Expose a local web app on port 3000
[[proxies]]
name          = "webapp"
type          = "http"
localIP       = "127.0.0.1"
localPort     = 3000
customDomains = ["app.yourdomain.com"]

# Expose SSH for emergency access
[[proxies]]
name       = "ssh-home"
type       = "tcp"
localIP    = "127.0.0.1"
localPort  = 22
remotePort = 6022

# Expose a local Postgres instance (dev only)
[[proxies]]
name       = "postgres-dev"
type       = "tcp"
localIP    = "127.0.0.1"
localPort  = 5432
remotePort = 15432

# UDP: expose a local game server or DNS
[[proxies]]
name       = "game-udp"
type       = "udp"
localIP    = "127.0.0.1"
localPort  = 7777
remotePort = 7777
sudo tee /etc/systemd/system/frpc.service > /dev/null <<'SVCEOF'
[Unit]
Description=FRP Client
After=network.target [email protected]
[email protected]
[Service]
Type=simple
ExecStart=/usr/local/bin/frpc -c /etc/frp/frpc.toml
Restart=always
RestartSec=5s
[Install]
WantedBy=multi-user.target
SVCEOF
sudo systemctl daemon-reload
sudo systemctl enable --now frpcPart 5: Caddy — Automatic HTTPS Termination on the VPS
FRP handles routing but Caddy provides real HTTPS with automatic Let’s Encrypt certificates. Install Caddy on the VPS:
sudo apt install -y debian-keyring debian-archive-keyring apt-transport-https curl
curl -1sLf 'https://dl.cloudsmith.io/public/caddy/stable/gpg.key' \
  | sudo gpg --dearmor -o /usr/share/keyrings/caddy-stable-archive-keyring.gpg
curl -1sLf 'https://dl.cloudsmith.io/public/caddy/stable/debian.deb.txt' \
  | sudo tee /etc/apt/sources.list.d/caddy-stable.list
sudo apt update && sudo apt install -y caddy/etc/caddy/Caddyfile:
app.yourdomain.com {
    reverse_proxy localhost:8080 {
        header_up Host {host}
        header_up X-Real-IP {remote_host}
        header_up X-Forwarded-For {remote_host}
    }
}
sudo systemctl enable --now caddy
sudo caddy validate --config /etc/caddy/CaddyfileCaddy automatically provisions and renews TLS certificates via ACME/Let’s Encrypt. Your local service at localhost:3000 (behind CGNAT in Pakistan) is now reachable at https://app.yourdomain.com with a valid certificate — no Cloudflare account needed.
Part 6: Advanced — FRP XTCP for P2P Hole-Punching
For very high-throughput use cases (file sync, large media transfers), FRP’s xtcp mode attempts UDP hole-punching so the two peers communicate directly once the session is established through the server, eliminating the VPS as a bottleneck:
# On the server side (frpc.toml of the machine sharing the resource)
[[proxies]]
name      = "large-file-share"
type      = "xtcp"
secretKey = "SHARED_SECRET_FOR_THIS_PROXY"
localIP   = "127.0.0.1"
localPort = 8000

# On the client side (frpc.toml of the consumer)
[[visitors]]
name           = "large-file-visitor"
type           = "xtcp"
serverName     = "large-file-share"
secretKey      = "SHARED_SECRET_FOR_THIS_PROXY"
bindAddr       = "127.0.0.1"
bindPort       = 9000
keepTunnelOpen = true
Once both sides run frpc, a direct P2P UDP stream is established. The VPS only brokered the initial handshake.
Part 7: Monitoring with Prometheus and Grafana
FRP ships with a Prometheus-compatible metrics endpoint. Enable it in frps.toml:
[webServer]
addr            = "10.8.0.1"
port            = 7500
pprofEnable     = true
enablePrometheus = true
Scrape at http://10.8.0.1:7500/metrics from a Prometheus instance running on the VPS:
# prometheus.yml scrape config
scrape_configs:
  - job_name: 'frp'
    static_configs:
      - targets: ['10.8.0.1:7500']
Alert on frp_server_client_counts < 1 to get notified when a client tunnel drops — useful to know if your Pakistan ISP has throttled the WireGuard UDP connection.
Part 8: Hardening Checklist
| Step | Command / Config |
|---|---|
| Firewall: block FRP port from public internet | ufw deny 7000 then ufw allow in on wg0 to any port 7000 |
| Rotate auth token | Update auth.token in both frps and frpc, restart both |
| WireGuard key rotation | wg set wg0 peer <PUBKEY> remove then re-add new key |
| Log rotation | logrotate on /var/log/frps.log and /var/log/frpc.log |
| Limit remotePort range | Add allowPorts = [{start=6000, end=7000}] in frps.toml |
| Run frps as non-root | User=nobody in systemd unit (already shown above) |
| Fail2Ban on FRP dashboard | Monitor /var/log/frps.log for auth failed entries |
Troubleshooting Common Issues in Pakistan
WireGuard will not connect from Zong 4G or PTCL DSL:
- Change
ListenPortto53(DNS UDP) or443— both are almost universally allowed - If UDP is entirely blocked, use
udp2rawto encapsulate WireGuard in fake TCP with HMAC authentication
frpc shows “login to server failed”:
- Verify WireGuard is up:
ping 10.8.0.1from client - Check token matches exactly (no trailing whitespace)
- Confirm
bindAddrin frps.toml is10.8.0.1not0.0.0.0
High latency through tunnel:
- FRP adds around 1ms overhead; if you see 80ms+, it is likely WireGuard MTU fragmentation
- Set WireGuard MTU explicitly:
MTU = 1380in[Interface]on the client (common fix for PTCL PPPoE which has 1492 MTU)
Caddy not getting Let’s Encrypt cert:
- Ensure port 80 and 443 are open on VPS firewall:
ufw allow 80/tcp && ufw allow 443/tcp - Check
journalctl -u caddyfor ACME challenge failures
Choosing the Right Infrastructure
The quality of this entire stack lives or dies on the VPS you anchor it to. A shared-CPU VPS with high network jitter will make WireGuard unreliable and FRP tunnel establishment slow.
For a self-hosted tunnel server you need a VPS with low packet loss and stable BGP routing, a dedicated vCPU with sub-2ms network latency variance, and a clean IPv4 that is not flagged by ISPs or hosting blacklists. If you want a fully managed Windows environment on the other end of the tunnel — running your applications inside a GUI and accessing them remotely over RDP — consider Pakistan Windows RDP from Nextgen Hosting: dedicated Windows Remote Desktop servers with Pakistani IPs, ideal for running the WireGuard GUI client or hosting frpc inside a Windows environment. For the VPS anchor where frps runs, NVMe Cloud VPS Pakistan offers KVM-isolated Linux instances on NVMe storage with clean IPs purpose-built for tunnel workloads. And if your use case demands consistent throughput without the noisy-neighbour effect of virtualisation — for example running a full reverse-proxy cluster or a high-traffic production tunnel — Dedicated Server Pakistan gives you full bare-metal performance with direct NIC access and no hypervisor overhead.
Summary
You have built a production self-hosted tunnel that replaces Cloudflare Tunnel, ngrok, and localtunnel with something you fully own, can tune, monitor, and extend:
- WireGuard creates an encrypted mesh — your local machine has a
10.8.0.xaddress reachable from anywhere the VPS is reachable - FRP (
frpson VPS,frpcon client) exposes HTTP/TCP/UDP services through that mesh with token auth - Caddy terminates public HTTPS with automatic certificates on a real domain
- Everything is locked behind the WireGuard interface — zero exposure of FRP control port to the public internet
PersistentKeepalive = 25ensures NAT mappings survive PTCL and Zong session resets
The FRP and WireGuard combination is especially well-suited to the Pakistani networking environment where ISP DPI targeting of third-party tunnel providers is increasingly aggressive. Run this stack on a clean VPS, lock it down with the hardening checklist above, and you will never depend on a third-party tunnel vendor again.